How to iPod Your Ghetto Ride
Eric Buczynski April 4, 2007 Tutorials Music
In the May 2007 issue of Mac|Life, there’s a step-by-step article that shows you how to wire an iPod connection into your car stereo. Mac|Life’s steps include removing the stereo from your dashboard and hooking up an external connector through the rear stereo port (RCA auxiliary inputs), if your car stereo has one.
Although it’s very informative, the article failed to mention that pulling your factory-installed stereo out of your dash might void your warranty. And, while the author was considerate enough to include a list of alternatives to wiring an iPod connection into your car’s stereo, we don’t think he went far enough. After all, many of us don’t have a rear stereo port, and even if we did, the vast majority of us wouldn’t pull the stereo out of our dashboards.
We’re here to show you how to iPod your ride – the easy way!

iPod compatible? Sure, if you follow our instructions!
Use Your iPod With a Tape Deck
If your car stereo has a tape deck, it’s incredibly easy to listen to your iPod in the car. “Tape adapters” are readily available at nearly every retail store and provide CD-like sound quality. It’s the best way to trick out your tape-decked, ghetto ride. We’ll show you how to do it.
Go out and buy yourself a cassette tape adapter. This is one item you don’t want to skimp on. We say this, because we’ve used a white, no-name cassette adapter with our 1997 Toyota Corolla, and the Corolla’s tape deck kept spitting out the adapter. However, a friend used an RCA cassette adapter for her vehicle, a 1998 Ford Contour, and after trying out the RCA adapter in the Corolla, we found it worked perfectly. We think this was due to the small trench built into the adapter. This allows you to put it into a cassette player both ways; that is, with the exposed tape on the left or the right.
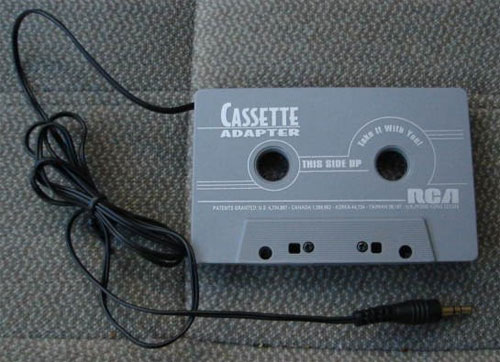
The cheap cassette adapter was purchased for $10 at Target. The RCA adapter was picked up at Best Buy for the same price. Best Buy has other cassette adapters that cost $20, but they do the same thing and have no bells and whistles. Don’t pay more than $20 for a cassette adapter!
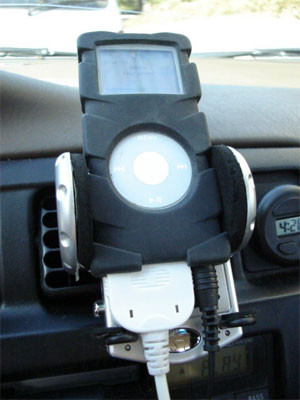
It’s certainly not a necessity, but it’s nice to have a little holder to support your iPod during car trips. There are lots of fancy holders out there, of course. They’re too expensive and elaborate for poor people like us. Be resourceful! We simply mounted our iPod nano with a cellphone holder:
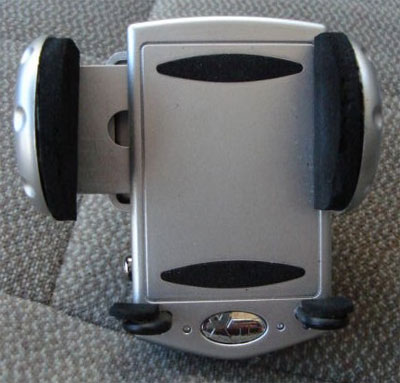
This was picked up at Walmart for around $5. The side pads hold the iPod securely without marking the sides, while the bottom pads prop it up. It can accommodate a video iPod as well, although an iPod Shuffle may have to be mounted diagonally with the bottom slanted and resting against one of the bottom pads. The little chrome button extends the left arm so that you can easily remove the iPod. This particular holder came with a velcro attachment as well as a small clip.
Just attach the clip to one of your car vents:
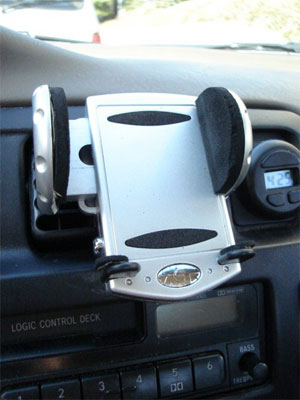
We recommend testing the holder at different angles. You want to make sure that your iPod will be at a decent viewing angle when driving, and you don’t want the cables or bottom part of the holder interfering with any important or frequently accessed gauges or controls.
Using the jack at the end of your cassette adapter, fit the 1/8" plug into the audio output jack of your iPod.
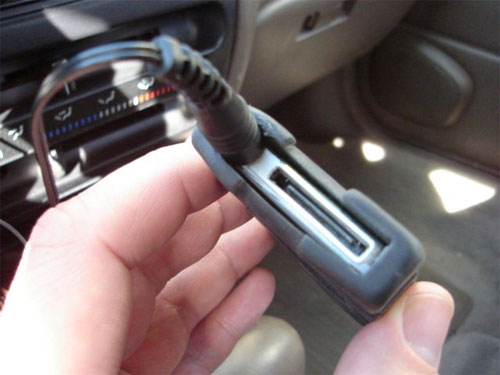
Put the cassette into the tape deck and press the “TAPE” button on your car stereo.
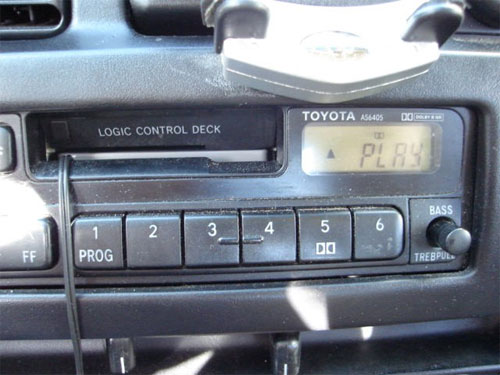
Put your iPod in the holder. You can use both the iPod’s scroll wheel and the stereo’s volume control to set the volume. Most of the time, you’ll probably want to leave iPod’s volume alone and use the stereo volume control. It’s easier to reach than the iPod.
There’s only one thing left to do: Keep your iPod’s battery juiced up. You’ll find this is necessary, especially when you take longer trips. We were able to purchase an iPod car charger at a Big Lots store for about $4.
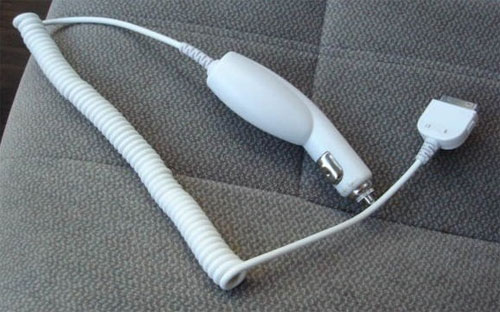
With the power adapter plugged in, we can keep the screen backlit all the time without worrying about draining the iPod’s battery. This is great for night-time driving, as well as showing off. But even if they don’t see our iPod, other drivers will definitely know that we’re Apple fans!
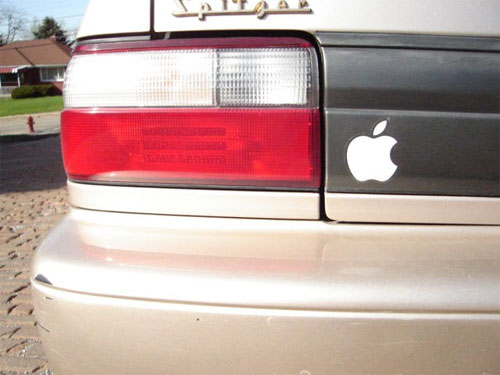
That’s it! Now you’re cruising in style.
Use Your iPod With an FM Transmitter
There is one other iPod connection option, and that is using an FM transmitter. This works with any car stereo. How does it work? Basically, an FM transmitter turns your iPod into a miniature, low-power radio station. You’re broadcasting, and your car’s stereo will be able to pick up the signal.
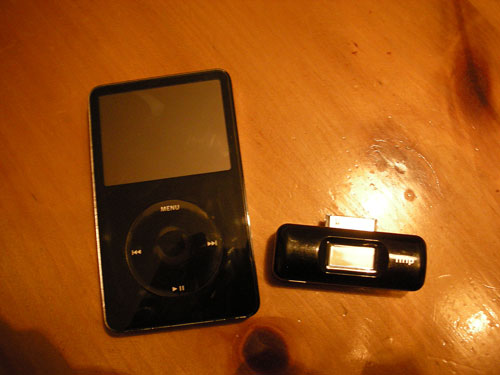
The bad news is that it’ll be just like real radio stations – the music being broadcast from your iPod will fuzz out time to time. We’re not going to kid you here: FM transmitters won’t provide anywhere near CD-like sound quality. But, in a pinch, they’ll do the trick.
Here’s how to use an FM transmitter:
Plug an FM transmitter, like Griffin’s iTrip, into your iPod.
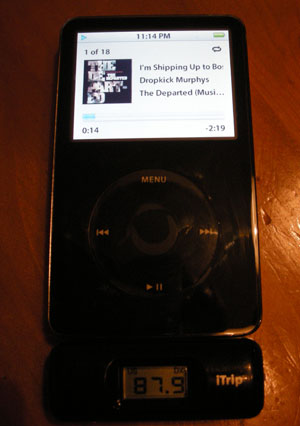
Start playing music on your iPod. The FM transmitter should turn on.
Use the dial on your FM transmitter to set the broadcast frequency. This is the the frequency you’ll have to tune in to, so make sure you’re not using the same frequency as a local radio station (they’d probably overpower your iPod’s signal).
Tune your car stereo into the FM frequency you set on your FM transmitter. You should hear music playing!
Subscribe to our email newsletter
Sign up and get Macinstruct's tutorials delivered to your inbox. No spam, promise!